299shares
Dyeing Wine Corks ~ What do you do with all those popped corks you've been collecting? Dye them and repurpose them for your next DIY craft project!
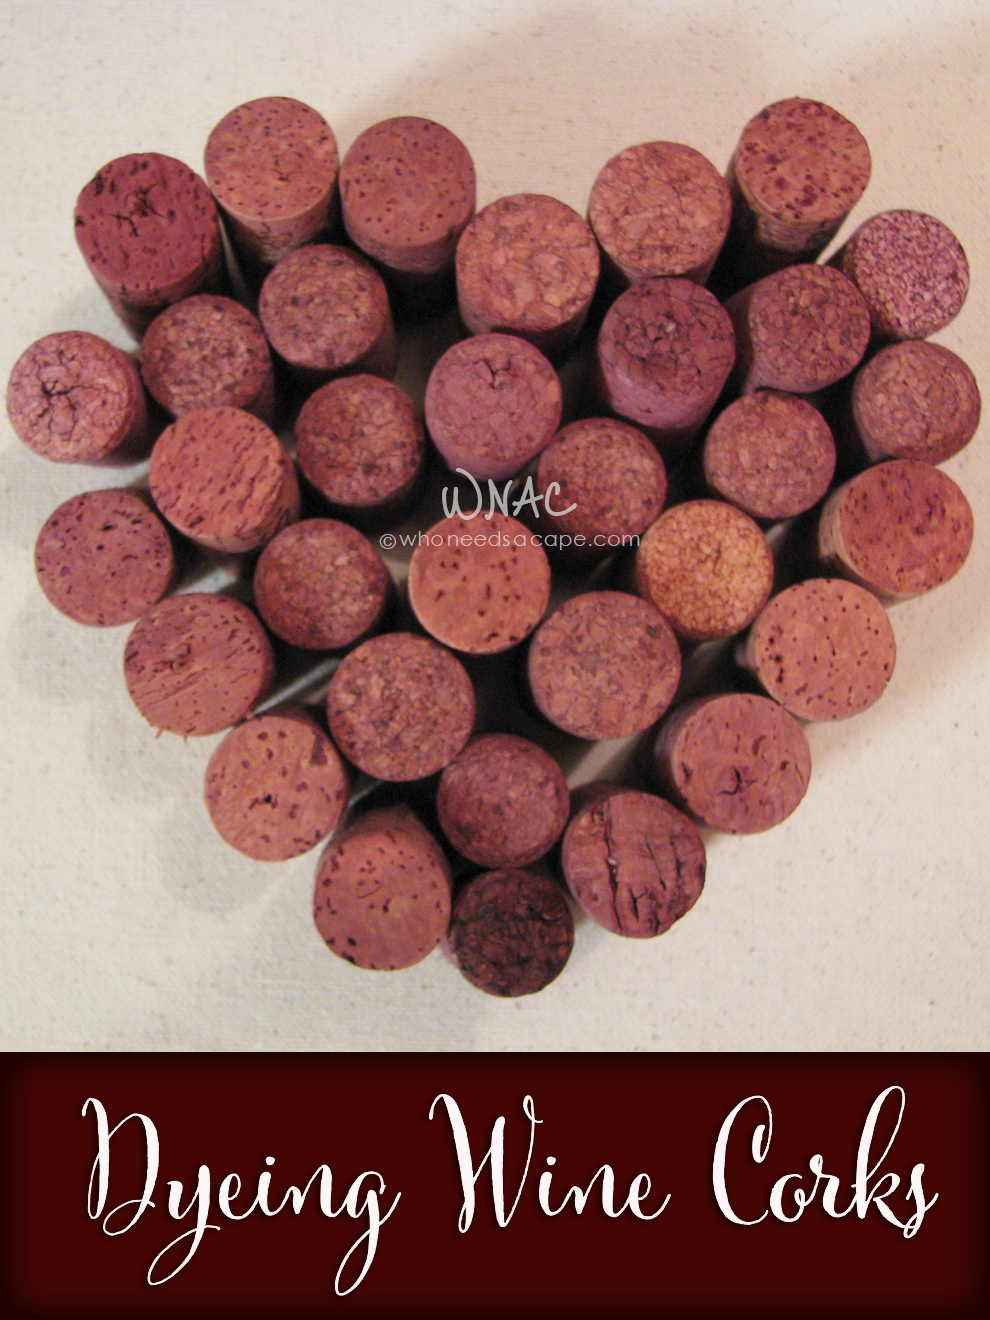
Did you know, you can dye wine corks? Yes, really! But whatever the reason, dyeing wine corks never occurred to me till just recently, while pondering what to do with the wine corks I've amassed over the years and have been storing here, there and anywhere.
I wanted to do more than just make a cork wreath out of all those corks. Now, I still want to make my own cork wreath one day when I've worked my way through my laundry list of other projects, but I chose instead to start with a cork-dyeing project to see where my creativity would lead me.
Once I did my homework, which I did easily at Living with Punks, I settled on using Rit fabric dye rather than using food coloring and having to experiment with the color till it was what I wanted. With Rit, I easily found the color I wanted, which was aptly named "wine." Kismet.
Along with the dye, I needed:
• 5-gallon bucket
• smaller bucket for measuring water
• 3 gallons of hot water
• 1 cup of vinegar
• corks (I dyed about 70 for my project)
• slotted spoon (for ease in stirring and removing from the dye)
• lid
• newspaper (to protect surfaces during dyeing and drying)
Now, before I go any further, I must mention that this method will NOT work with synthetic cork, and many wineries now use synthetic corks. Also, dyeing will only color the outside of the cork so if you need to sand, cut or otherwise alter the cork for your project, do it before dyeing or you'll lose the color.
Combine 3 gallons of hot water and 1 cup of vinegar in the large bucket. Add entire bottle of Rit Dye; stir with slotted spoon. Carefully drop corks into dye bath and fully submerge corks. Allow to sit for several hours; less time for less color, more time for more saturated color. Since I wanted mine to mostly be the same, darker shade, I opted to keep them in the bucket for 6 hours and stirred the batch twice to ensure more even coverage.
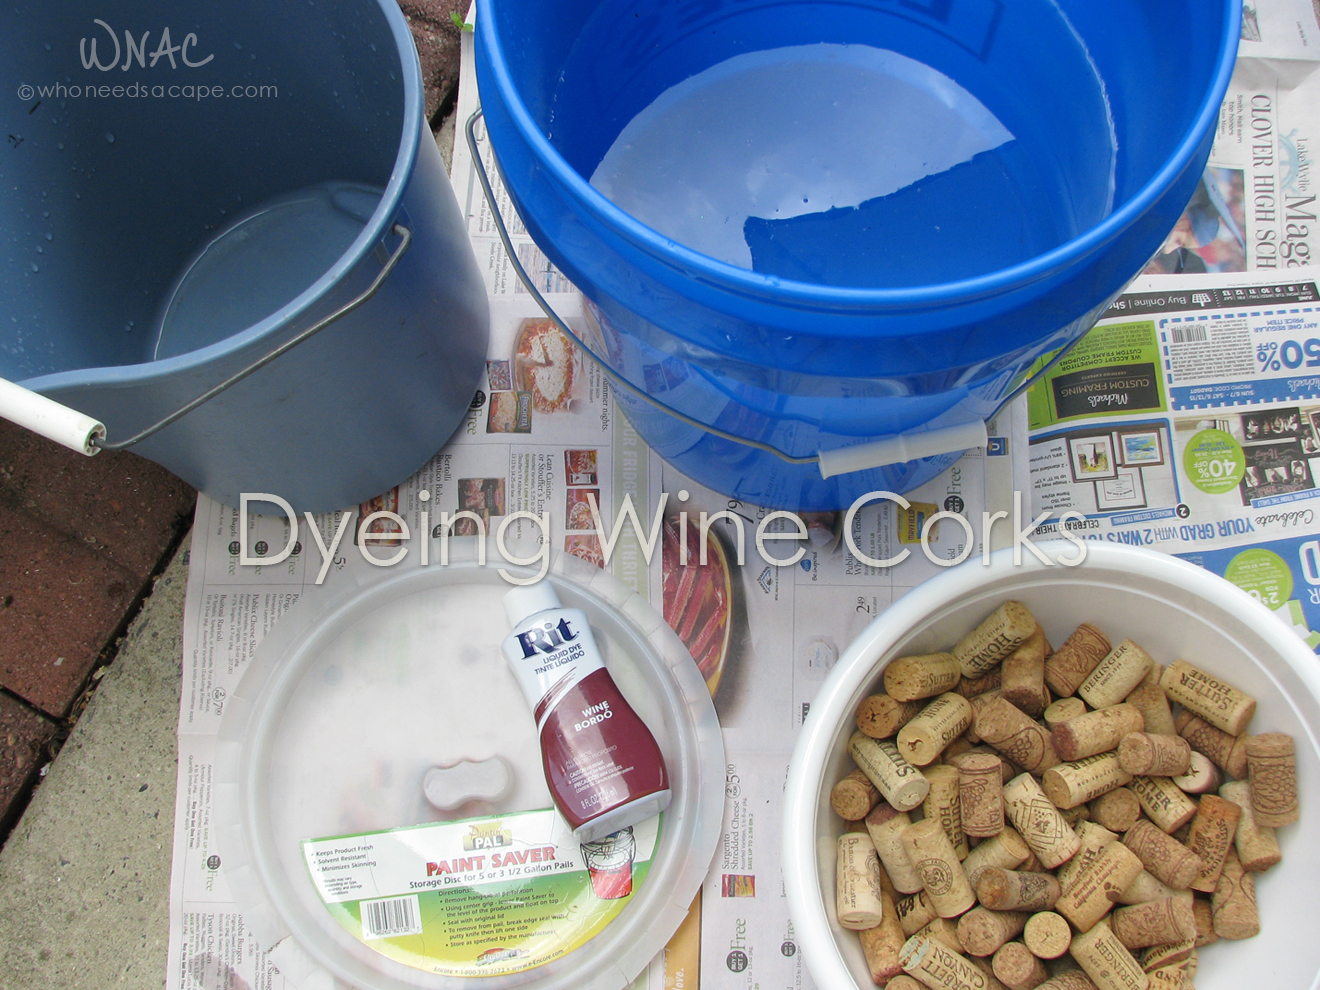 Above: Supplies gathered and ready to go.
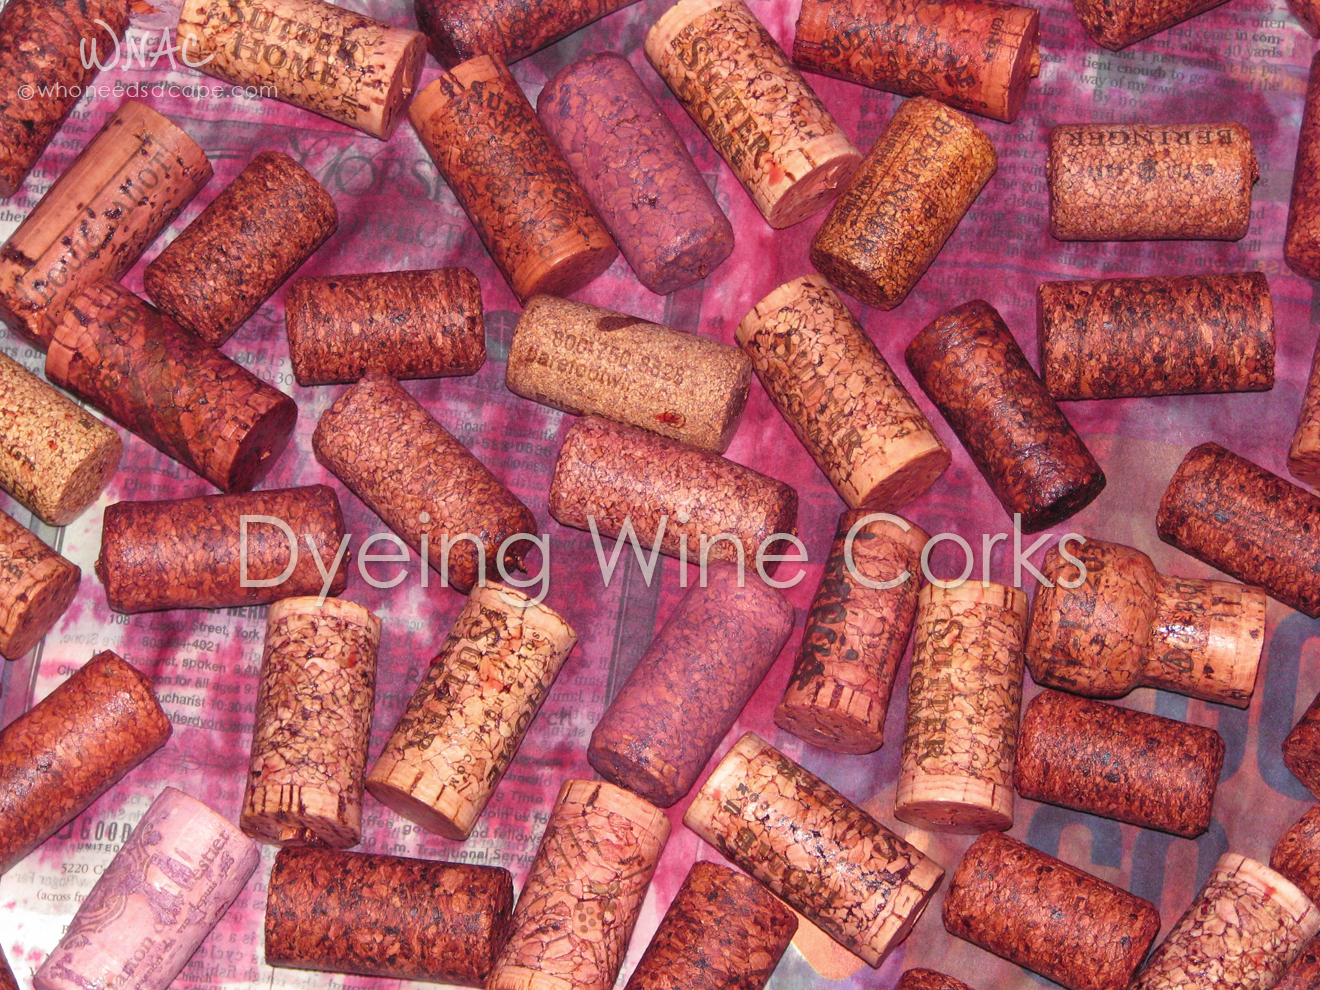
Below: Corks going into the prepared dye bath.
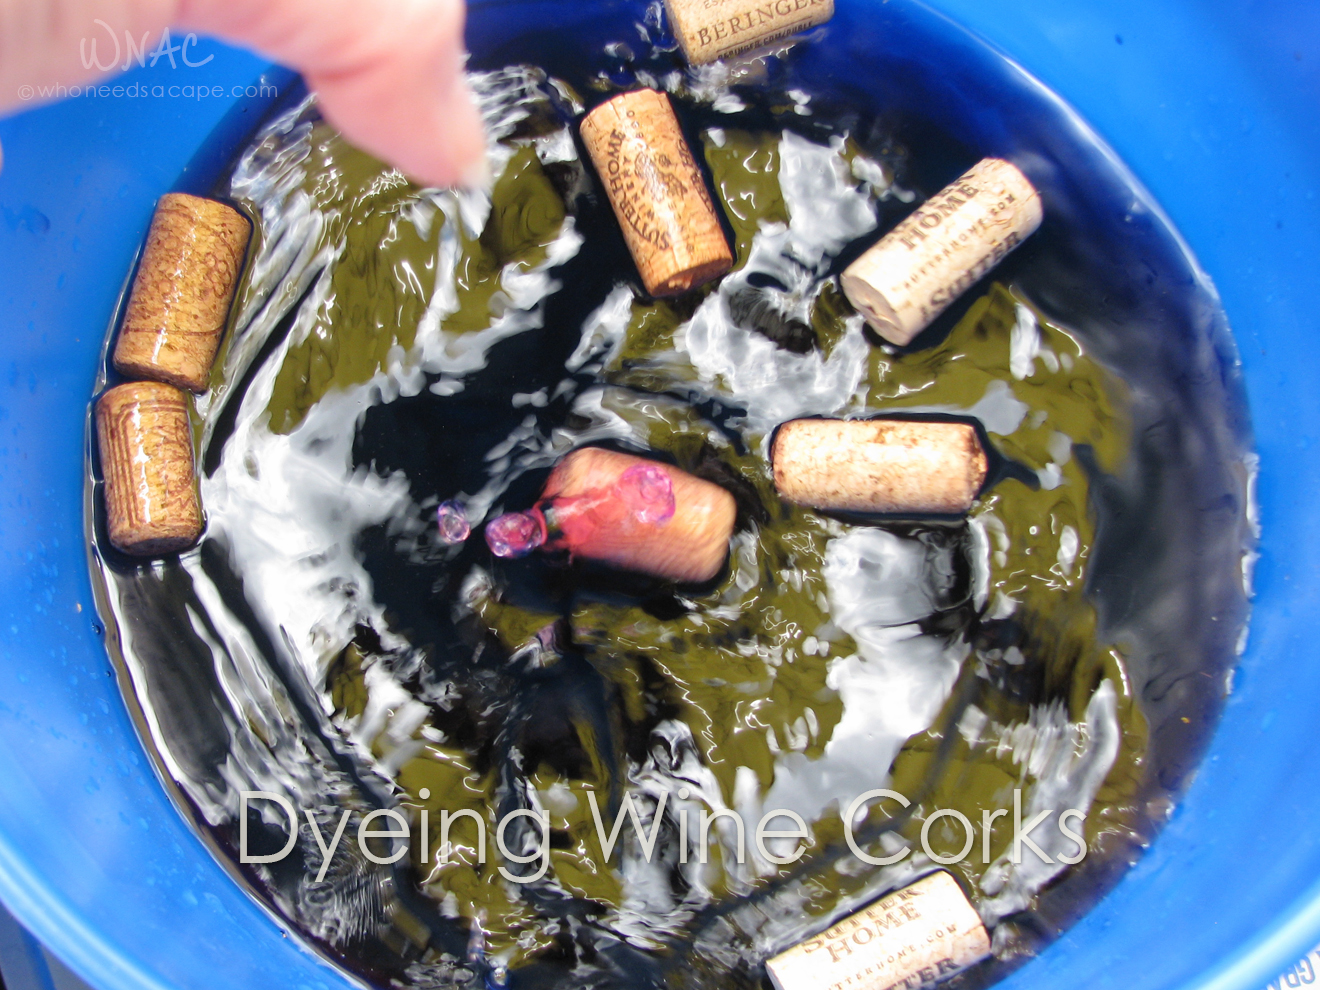
 One thing I didn't stop to consider is that cork floats - but fortunately my "tutorial" addressed that issue so I was prepared with a plastic lid typically used to temporarily cover open paint that you don't want to pour back into the can. The lid has purposely frayed edges so it fits nicely into both 3.5- and 5-gallon buckets, which allowed me to wedge it into place to keep the corks completely submerged instead of only bobbing on the surface of the dye bath.
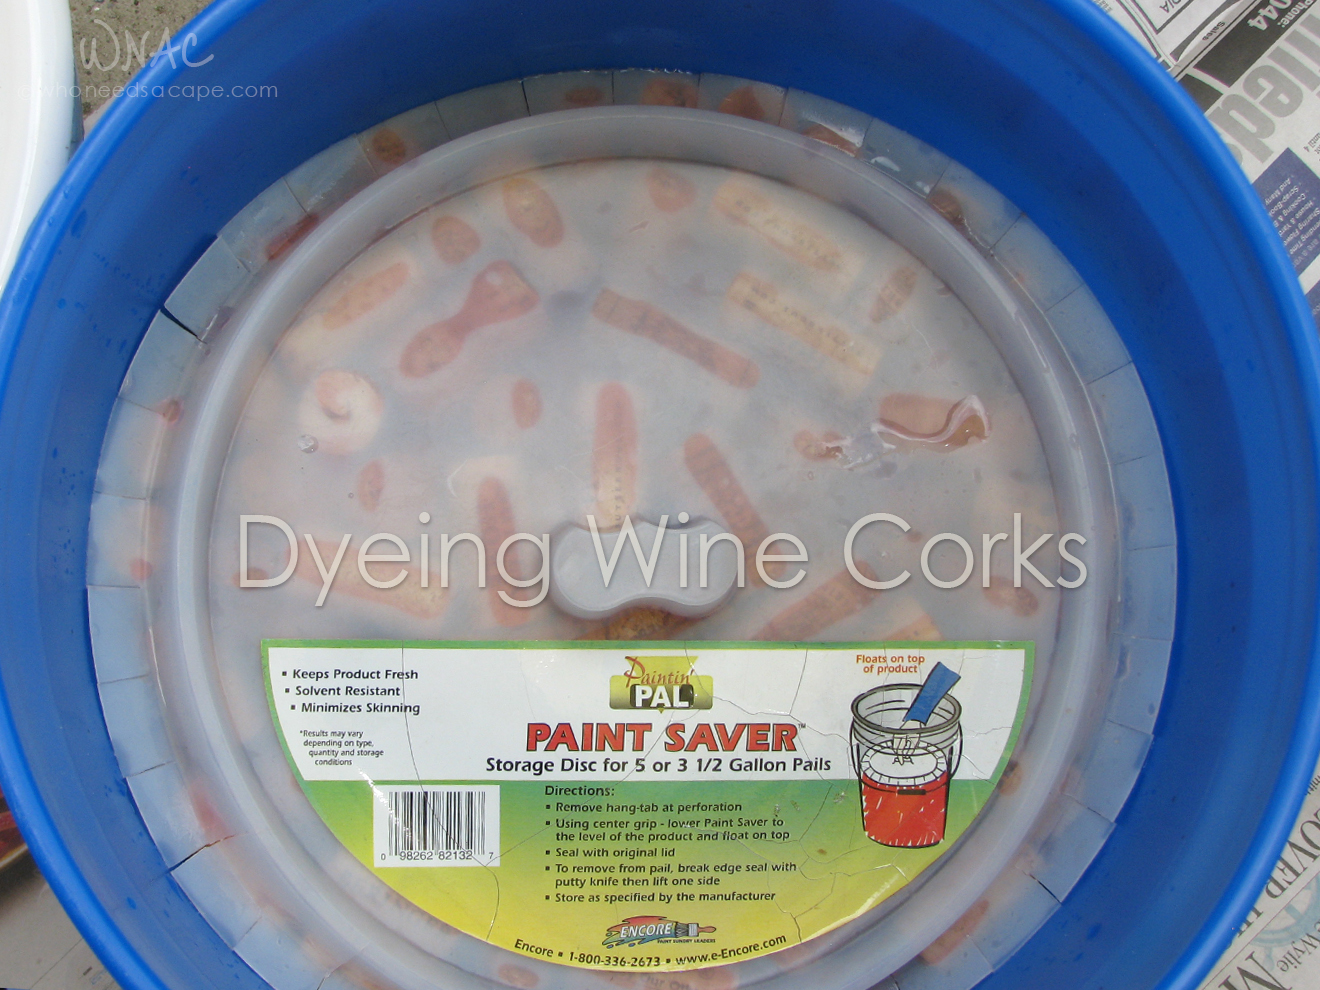
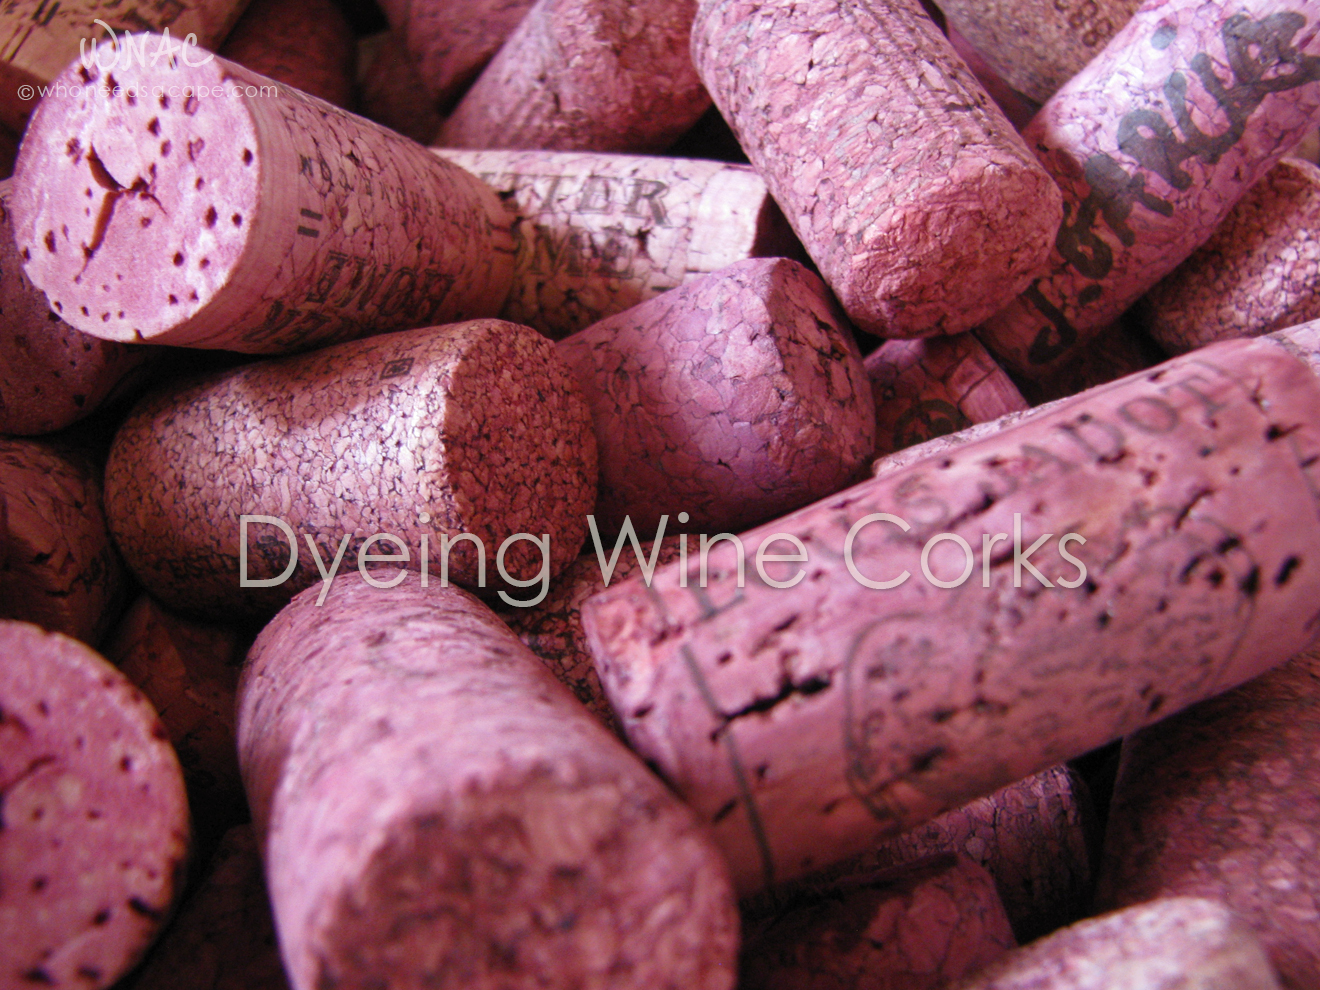
I was pleased with how the corks looked after 6 hours, so I scooped them out with the slotted spoon and spread them out on newspaper to dry overnight.
When I checked the corks the next morning, they were thoroughly dried and looked exactly the way I was hoping they would. There is enough variation in the shades that no two corks look alike; the more porous corks absorbed more dye, and some that were closer to the top of the bucket came out a bit lighter.
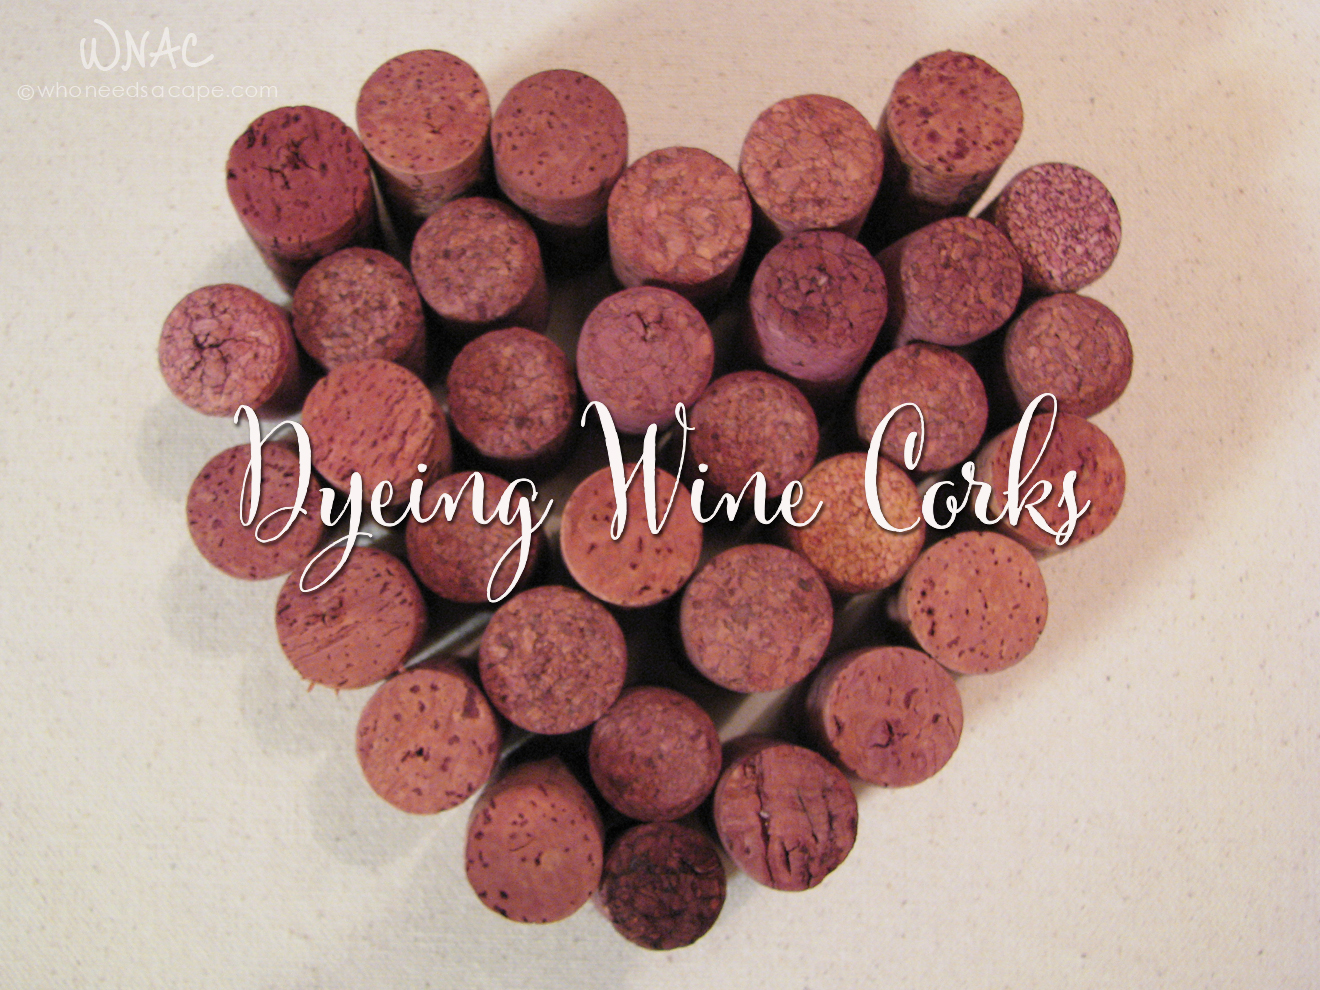
I am so glad I took the plunge and dyed cork because it expanded my options with cork projects - not just basic tan to work with. I only used about a quarter of the corks I dyed for this project and will use the others later. I also threw some champagne corks into the dye and while I won't use them for a project, they'll look nice in a mason jar that I can fit into my kitchen decor, which is mostly grapes and vino . surprise, surprise. 😉

More from my site
 All That Glimmers Is Re-glittered
 DIY Sharpie Ceramic Mugs and Cups
 DIY Candy Corn Pine Cones
 DIY Milk Jug Ghosts
- DIY Candy Corn Pine Cones
 DIY Felt Gnome Hat
Related
<!--<rdf:RDF xmlns:rdf="http://www.w3.org/1999/02/22-rdf-syntax-ns#" xmlns:dc="http://purl.org/dc/elements/1.1/" xmlns:trackback="http://madskills.com/public/xml/rss/module/trackback/"> <rdf:Description rdf:about="https://whoneedsacape.com/2015/08/dyeing-wine-corks/"dc:identifier="https://whoneedsacape.com/2015/08/dyeing-wine-corks/"dc:title="Dyeing Wine Corks"trackback:ping="https://whoneedsacape.com/2015/08/dyeing-wine-corks/trackback/" /></rdf:RDF>-->