290shares
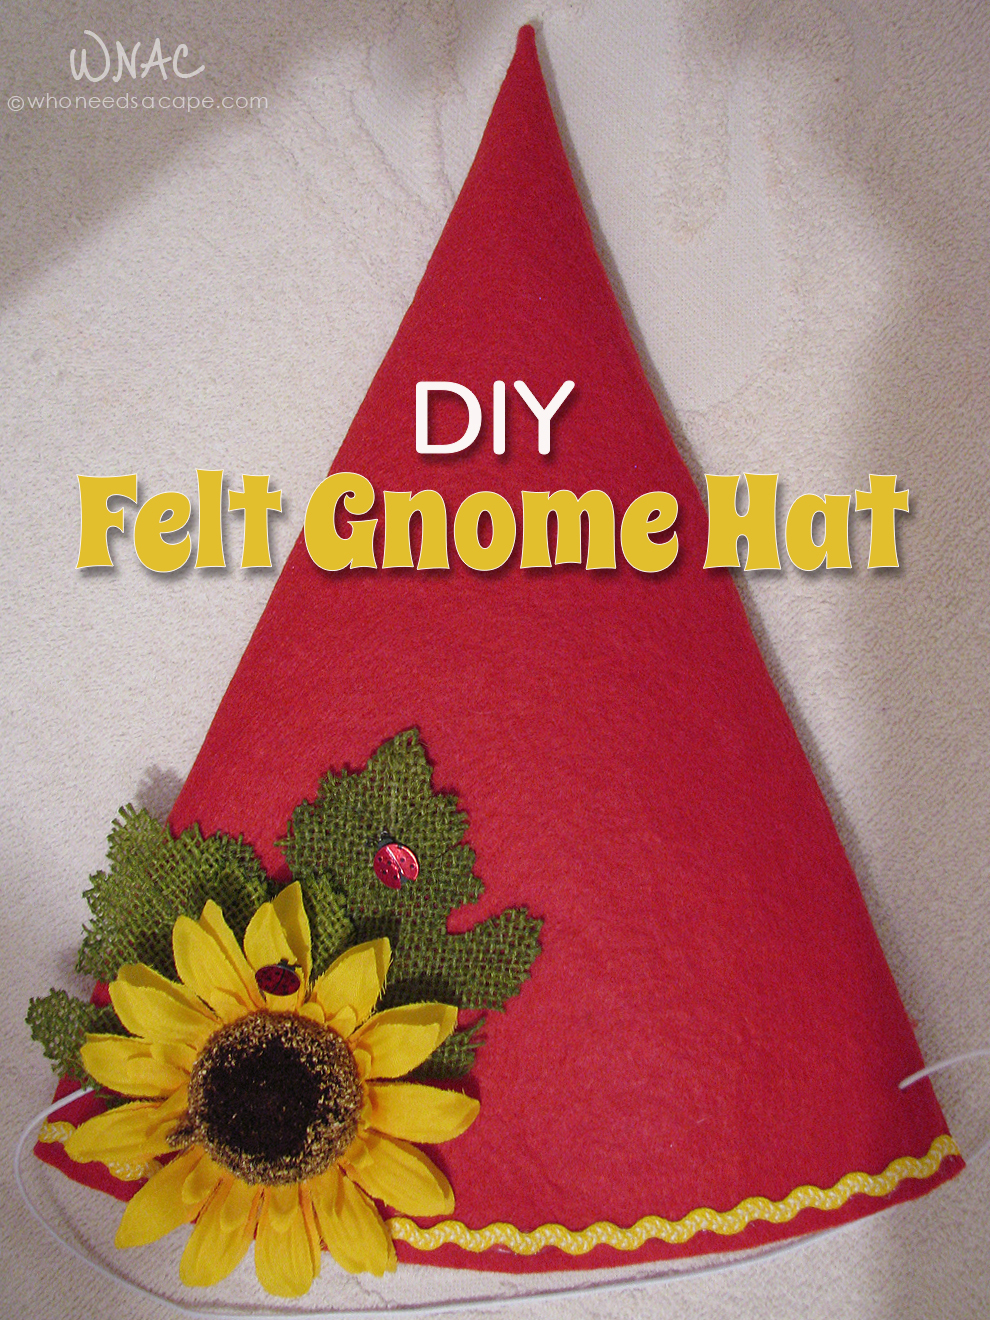
DIY Felt Gnome Hat ~ Here's a fun and easy way to make your little gnome's hat for their ghoulish night! Great DIY Halloween costume!
I heart Halloween and Trick or Treat. The kid in me adores autumn and its festivities, and I'm fortunate to have girls who appreciate the nearly lost art of homemade costumes. Once upon a time, your costume came from ordinary items you already owned or could borrow, or mom/grandma/aunt/responsible adult was able to somehow make the accessories or components needed. You remember that kid whose mom made the cool cape for their Count Dracula costume or the bat costume made from garbage bags and a painted black cardboard mask, right? To me, that's what's fun about Halloween: putting on your thinking cap and coming up with creative ways to pull a costume together.
Now, I don't often do all-out homemade costumes because, frankly, it can be exhausting and as a full-time working mom I have to budget my time wisely so I don't become over-extended (it's hard for me to say "no," ever). I'm also not a seamstress so if a project involves more than sewing a button or a simple hem, I won't even attempt it. But I've become good at creating lots of non-sewn items, including my Oldest Girl's Mother Nature costume last year (who knew you could do so much with tulle?!), which began as a basic dance bodysuit and became an ensemble befitting our woodland Mother. I went into the project armed with just tulle, scissors, a glue gun and a load of embellishments and came out of it with a huge sense of accomplishment - and my six-year-old was thrilled that Mommy had brought her specific vision to life.
As rewarding as the Mother Nature experience was all around, I wasn't prepared to do that again this year. Fortunately, my girls made it easy to stick to that plan, though, as they both chose relatively simple costumes: a Punk Rock Girl and a Garden Gnome. The Punk Rock Girl get-up is pretty easy to throw together and once again, nearly all the items needed we already had on hand (I bought a $3 black t-shirt and made my own iron-on transfer for it, plus shocking-pink hair color). For the Garden Gnome, I had a lot of the accessories on hand . but I did not have the telltale conical red hat that every proper Garden Gnome needs as a part of their wardrobe. That's when I realized this project had become a DIY Felt Gnome Hat project.
While pondering how to make my own gnome hat, I stumbled upon a felt pink princess hat from one of the "dollar depot stores" and realized it could become my pattern for a gnome hat, minus the scarf attached to the top. Ordinary felt is pretty flaccid and easy to shape, but I didn't want my gnome hat to be mistaken for a floppy Smurf or elf hat. Did you know, you can easily stiffen felt? Yeah, me either until I went searching on the Internet and discovered just how easy it is and how necessary it is for certain projects (like a stiff pointy hat).
By this point I had a pretty good idea of what supplies I'd need for my little DIY:
- Felt (sized larger than the small sheets)
- Scissors
- Elmer's glue (I used school glue)
- Large bowl
- Fork
- Large towel
- Glue gun
- White chalk (or a color visible on your felt)
- Embellishments (trim, flowers, beads, etc.)
- Elastic for chin strap (optional)
Admittedly, I had it easy once I realized the pink princess hat could be used as my pattern; I didn't have to measure everything initially but was able to use the dimensions from the store-bought hat. Whatever works, right? 😉 But for those of you without a hat readily on hand, the curved side represents the head circumference and the straight sides represent the height of the hat; adjust your measurements to reflect your Gnome's head and the desired height of their hat.
Don't grab those scissors just yet, though!
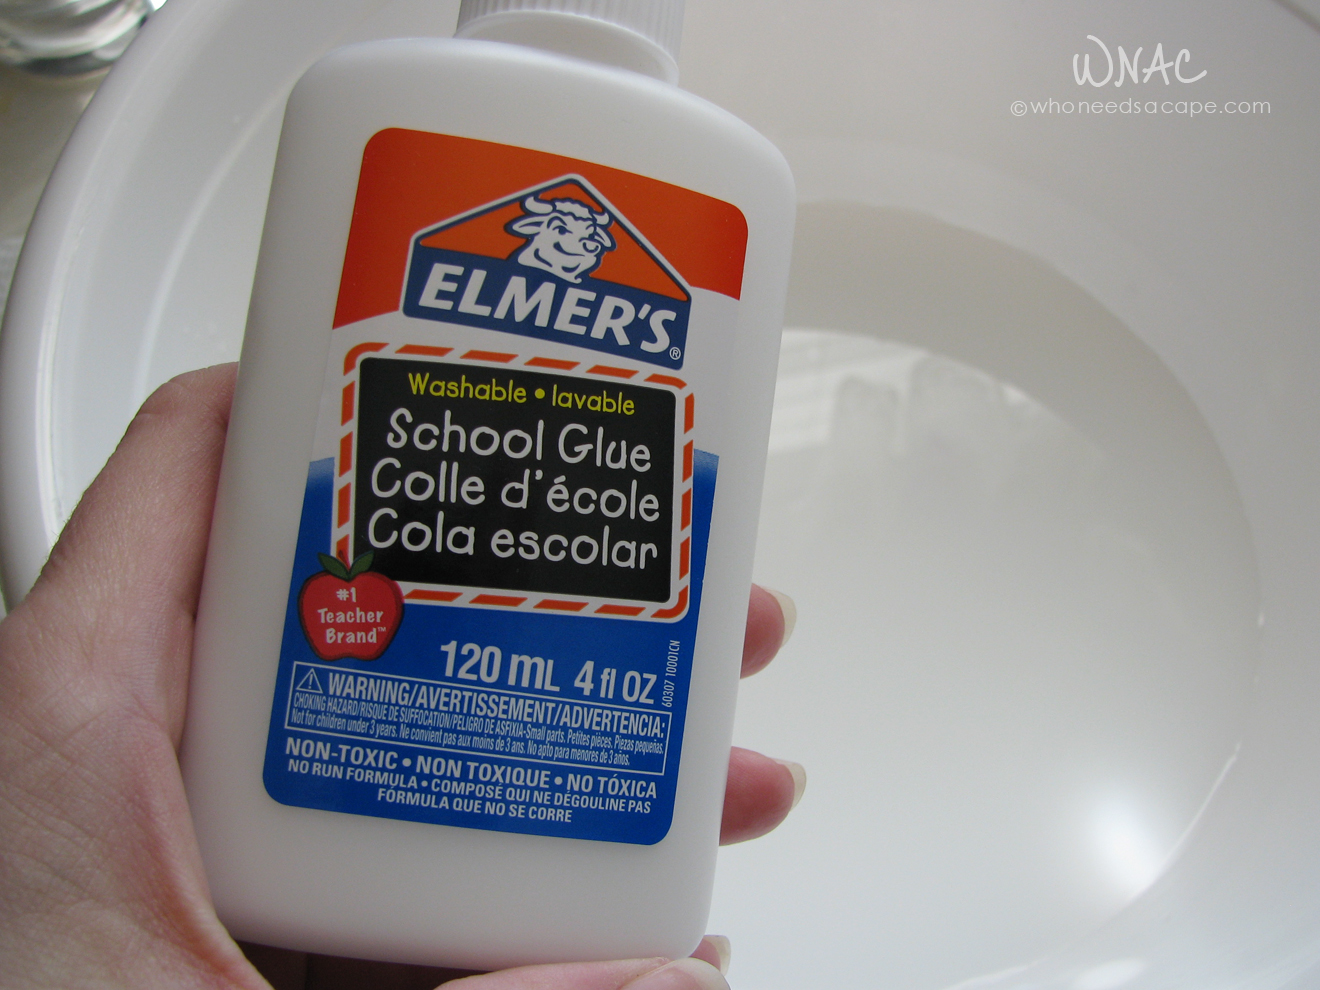 Before we go any further, let's talk more about stiffening the felt since that's the first step. The felt will shrink slightly from the stiffening process so I strongly suggest that your felt be cut slightly larger than your finished size to account for any shrinkage. I cut mine from a larger bolt so I was generous in the size I cut out, just to be on the safe side (I hate doing things twice). Once your larger piece of felt is cut, you're ready for the stiffening process: get a big bowl, fill halfway with warm water, add glue and stir, stir, stir! Continue to stir until the mixture is smooth to eliminate any glue blobs. Once it's smooth, put your cut piece of felt into the glue/water solution. Your ratios aren't a huge deal; I used about 1/3 of the Elmer's bottle and my felt was stiffened perfectly.
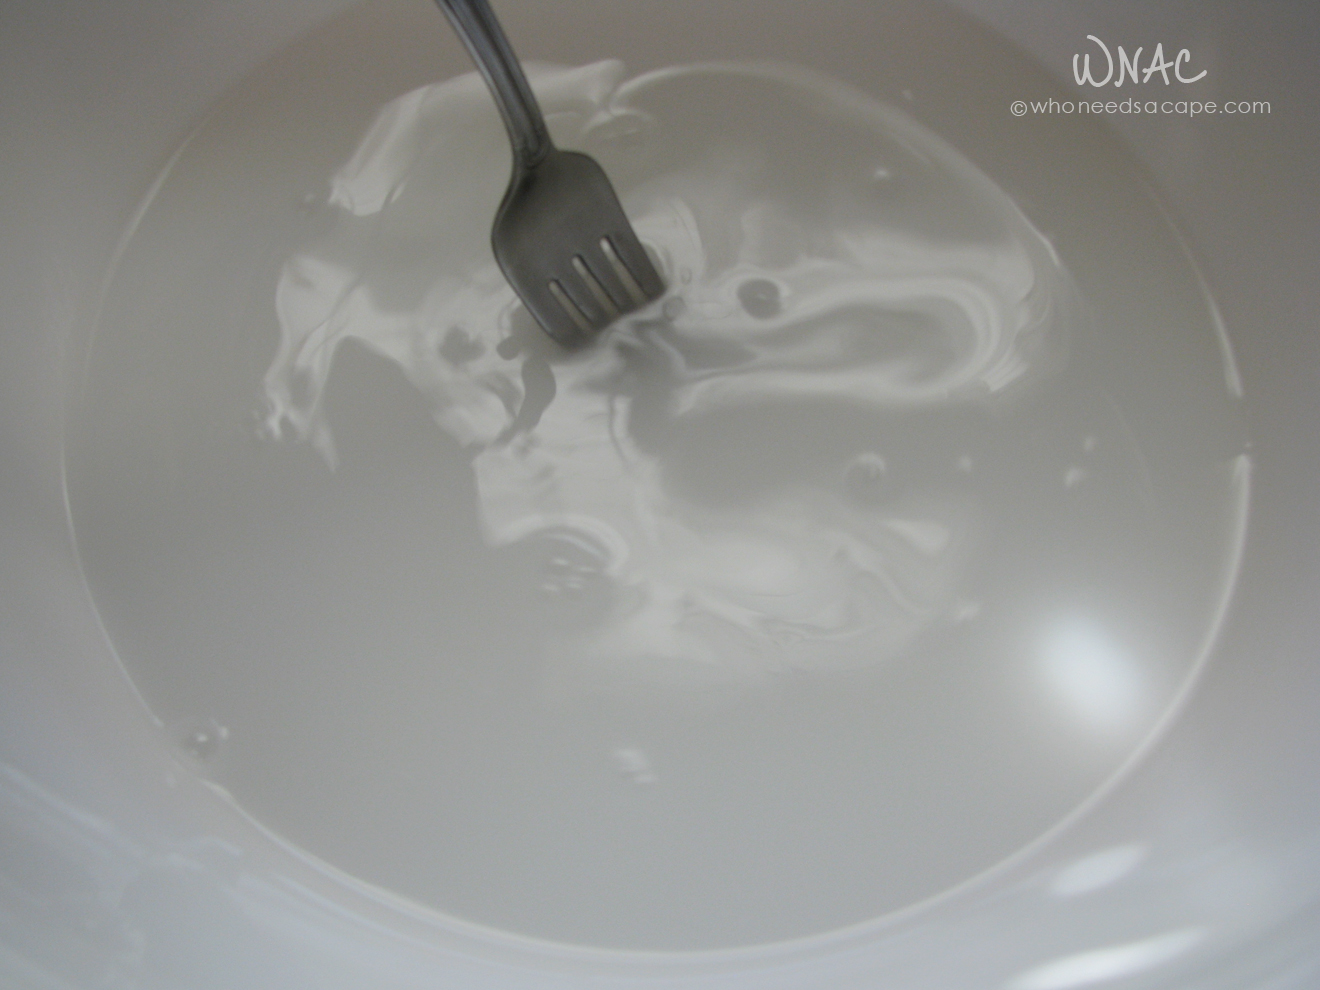 Stir to eliminate any glue blobs which could discolor your felt.
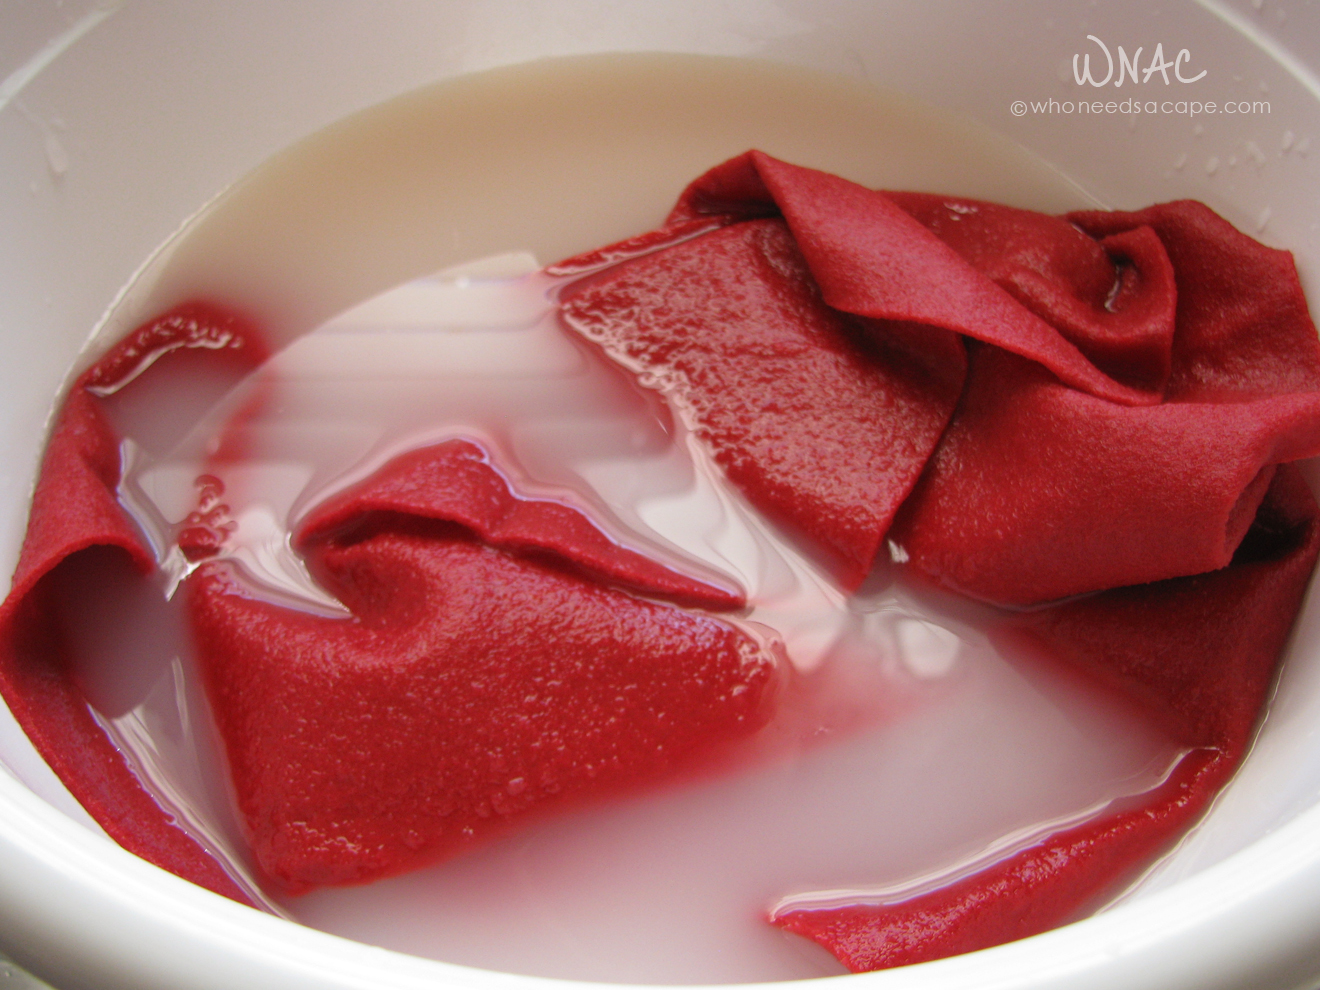 I thoroughly saturated my felt and moved it around in the bowl for full coverage since my piece was large and folded to fit into the bowl. I let it soak for a few minutes before gently squeezing (not wringing!) the excess glue/water from the felt. I laid it flat on a large towel, smoothed out the wrinkles as well as I could, and let it dry overnight.
Once dry, I was surprised at the firmness of the stiffened felt. It was still pliable and easy to manipulate, but suitable for projects needing a more substantial base.

 Next, I placed my pink hat pattern on top of my felt and traced the pink hat with chalk, giving me a perfect outline for cutting. From there, I cut out the traced pattern. There were a few wrinkles remaining in the fabric, so I placed it between two towels and ironed it on low till the wrinkles were gone.
It took me a bit of folding the ends together to get the overlap I wanted without making the hat too small for my Gnome. I began gluing at the point of the hat while holding the ends together at the bottom. Once the glue on the top of the hat had set, I worked my way down the seam bit by bit, applying the glue in small sections while still holding the bottom. I was hesitant to pin the ends together, since a past felt project was "goofed" when the pin holes were visible after the project was finished.
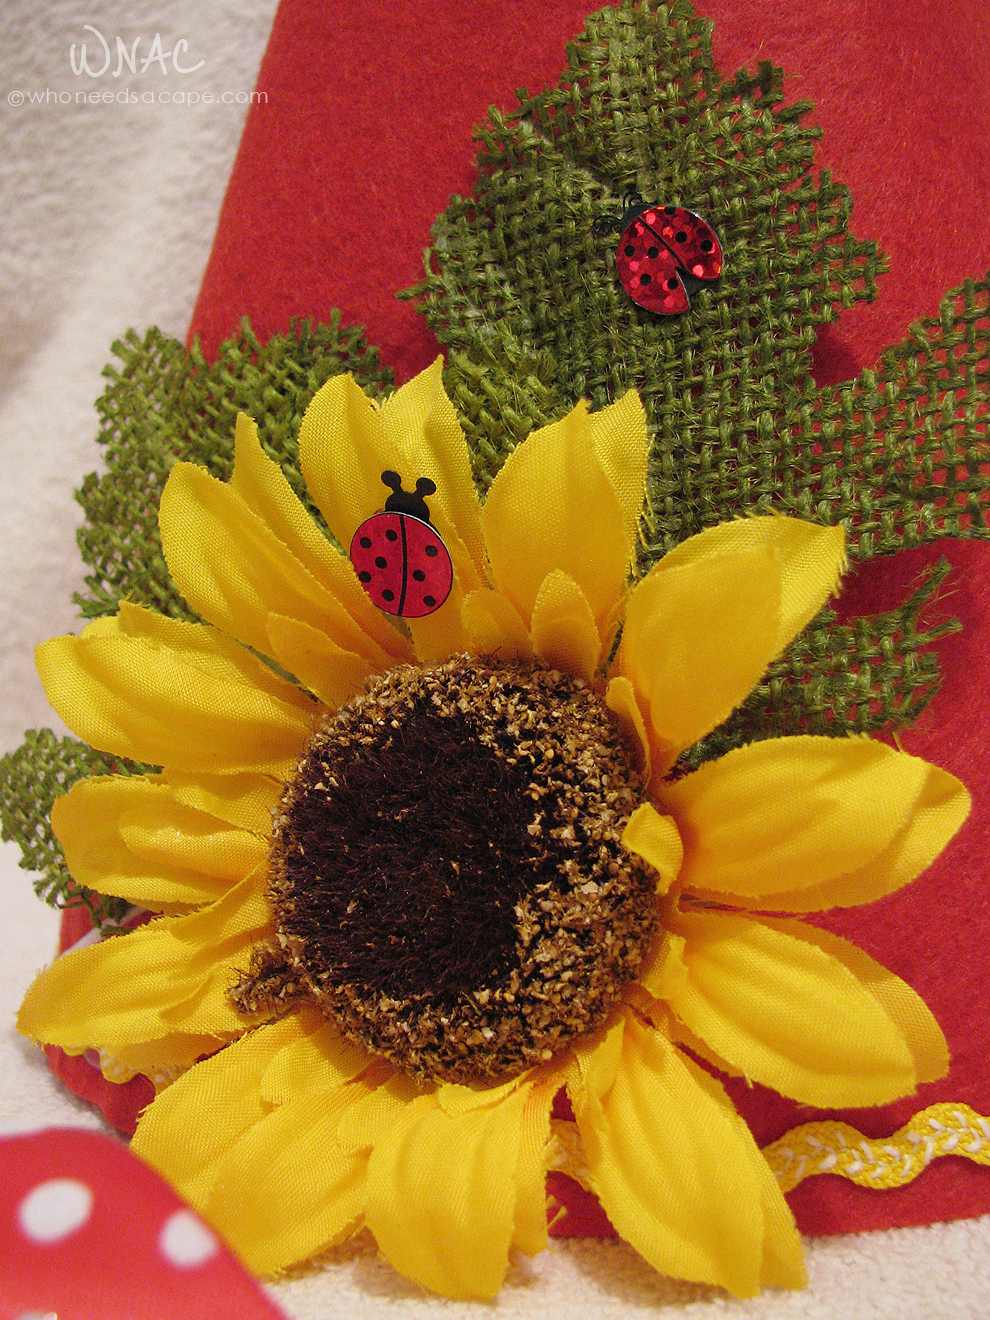
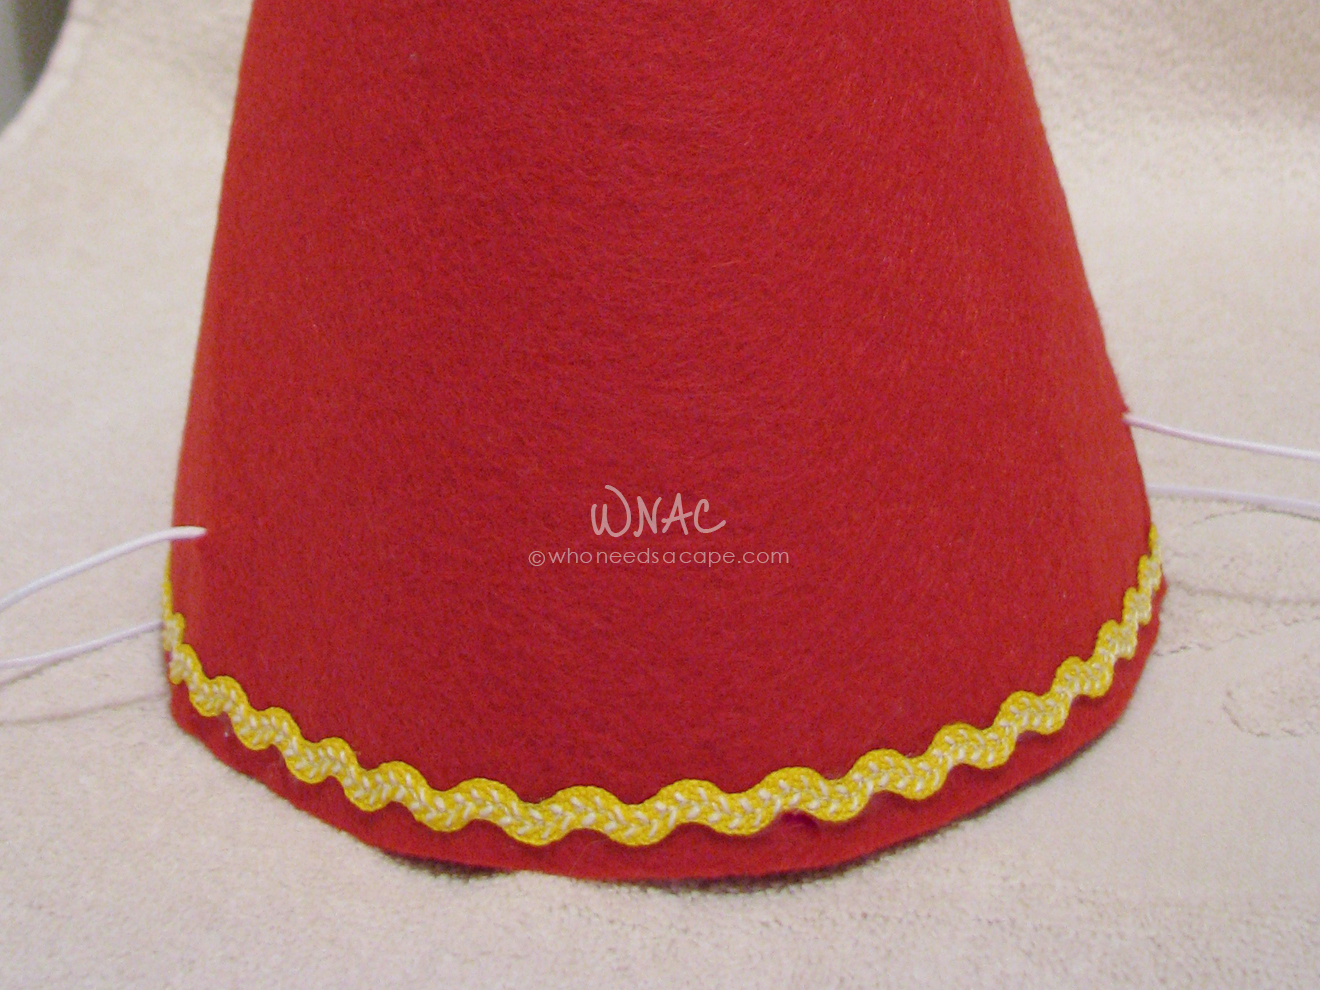 I allowed the glue to set for a few minutes before adding two small holes on the side where my chin strap would be attached. From there, I added some embellishments and trim - some of which were left over or unused from last year's Mother Nature costume.
This DIY Felt Gnome Hat was unbelievably easy to make and my little Gnome can't wait to unveil her perfectly pointy hat. Before I began this project, I think she had her doubts about Mommy ~really~ making a gnome hat, but the end result made her a believer in how awesome homemade costumes can be!

More from my site
 DIY Candy Corn Pine Cones
 DIY Milk Jug Ghosts
 Swamp Potion
- DIY Milk Jug Ghosts
- DIY Candy Corn Pine Cones
 DIY Glow in the Dark Halloween Shirts
Related
<!--<rdf:RDF xmlns:rdf="http://www.w3.org/1999/02/22-rdf-syntax-ns#" xmlns:dc="http://purl.org/dc/elements/1.1/" xmlns:trackback="http://madskills.com/public/xml/rss/module/trackback/"> <rdf:Description rdf:about="https://whoneedsacape.com/2015/10/diy-felt-gnome-hat/"dc:identifier="https://whoneedsacape.com/2015/10/diy-felt-gnome-hat/"dc:title="DIY Felt Gnome Hat"trackback:ping="https://whoneedsacape.com/2015/10/diy-felt-gnome-hat/trackback/" /></rdf:RDF>-->